Nur technisch versierte Personen verstehen „TrueNAS SCALE“ und dessen Installation auf dem All-Flash-NAS K100. Das ist eine weit verbreitete Annahme, aber nicht ganz richtig. Zwar klingt die Installation und Einrichtung von TrueNAS SCALE auf Ihrem Aiffro K100 All-Flash-NAS zunächst kompliziert, ist aber im Grunde recht einfach. Selbst mit grundlegenden technischen Kenntnissen kann man es problemlos beim ersten Mal installieren, wenn man die richtige Anleitung befolgt.
Das K100 NAS ist bereits jetzt optimal für Nutzer, die es zur Datensicherung oder zum Hosten von Anwendungen wie Nextcloud oder Plex verwenden möchten. Die Installation von TrueNAS SCALE ist der erste Schritt, um Ihr NAS voll funktionsfähig zu machen.
Hier finden Sie die passende Anleitung zur Installation von TrueNAS SCALE auf Ihrem All-Flash-NAS K100. Wir verwenden eine einfache und verständliche Sprache, damit Sie sich nicht in technischen Fachbegriffen verlieren.
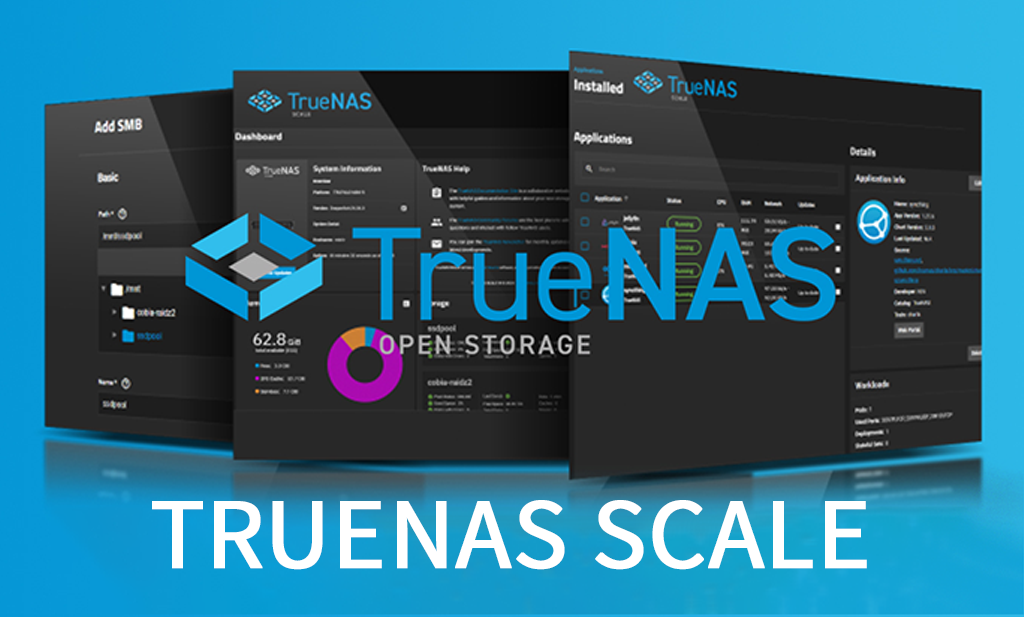
Was ist TrueNAS SCALE?
TrueNAS SCALE ist ein kostenloses Open-Source-Betriebssystem. Es basiert auf Linux und wurde speziell für NAS-Systeme entwickelt. Es bietet Vorteile für alle Anwender, unabhängig von ihren Anforderungen im privaten oder beruflichen Bereich. Sie können Speicherpools erstellen und Dateien in Ihrem Netzwerk freigeben. Mit TrueNAS SCALE können Benutzer sogar Anwendungen direkt auf ihrem NAS ausführen.
Warum Sie TrueNAS SCALE auf Ihrem Aiffro K100 installieren müssen?
- Der K100 verwendet ausschließlich Flash-SSDs, die schnell sind und hervorragend mit TrueNAS SCALE zusammenarbeiten.
- TrueNAS bietet Ihnen eine leistungsstarke Weboberfläche zur Verwaltung aller Funktionen.
- Es unterstützt RAID-Konfigurationen und das ZFS-Dateisystem. Es schützt Ihre Daten vor Festplattenausfällen.
Was Sie für die Installation von TrueNAS SCALE auf dem Aiffro K100 All-Flash NAS benötigen
Bevor Sie mit der Installation von TrueNAS SCALE beginnen, benötigen Sie folgende Elemente:
Hardware:
- Aiffro K100 All-Flash NAS (ausgeschaltet)
- Ein USB-Stick mit mindestens 8 GB Speicherkapazität
- Ein separater Computer (Windows, Mac oder Linux) zur Vorbereitung des USB-Anschlusses
- Tastatur und Monitor (für eine temporäre Einrichtung)
- Ethernet-Kabel und Netzwerkzugang
Software:
- TrueNAS SCALE ISO-Datei
- Balena Etcher (oder Rufus) zum Erstellen eines bootfähigen USB-Sticks
So installieren Sie TrueNAS SCALE auf einem All-Flash-NAS K100
Hier finden Sie meine detaillierte Anleitung zur Installation eines TrueNAS SCALE in einem K100 oder einem ähnlichen All-Flash-NAS.
Schritt 1: Laden Sie die TrueNAS SCALE ISO-Datei herunter.
- Öffnen Sie Ihren Webbrowser und besuchen Sie die offizielle TrueNAS-Website.
- Wählen Sie die neueste stabile Version von TrueNAS SCALE.
- Klicken Sie auf die Schaltfläche „ISO herunterladen“ und speichern Sie die Datei auf Ihrem Computer.
Schritt 2: Erstellen Sie einen bootfähigen USB-Stick
Nun kopieren wir die ISO-Datei mithilfe eines Tools bootfähig auf Ihren USB-Stick. Ich empfehle Balena Etcher; Sie können aber auch Rufus verwenden. Im Folgenden wird die Vorgehensweise mit Balena Etcher beschrieben.
- Laden Sie Balena Etcher herunter und installieren Sie es von https://etcher.balena.io/
- Öffnen Sie Etcher und klicken Sie auf „Flash aus Datei“.
- Wählen Sie die zuvor heruntergeladene TrueNAS SCALE ISO-Datei aus.
- Stecken Sie Ihren USB-Stick ein und wählen Sie ihn aus.
- Blitzlicht anklicken!
- Bitte warten Sie, bis der Vorgang abgeschlossen ist.
- USB-Kabel sicher entfernen
Schritt 3: Starten Sie den K100 vom USB-Anschluss.
- Schließen Sie Ihren Monitor und Ihre Tastatur an den K100 an.
- Stecken Sie den bootfähigen USB-Stick in einen der USB-Anschlüsse.
- Schalten Sie die K100 ein.
- Drücken Sie beim Start die Taste, um auf das Bootmenü zuzugreifen (normalerweise F12, DEL oder ESC, abhängig von Ihrem Motherboard).
- Wählen Sie Ihr USB-Laufwerk aus der Liste aus und drücken Sie die Eingabetaste.
Sie sehen nun den Installationsbildschirm von TrueNAS SCALE.
Schritt 4: TrueNAS SCALE installieren
Folgen Sie den angegebenen Schritten, um das Installationsprogramm Schritt für Schritt durchzuführen:
- Sie gelangen zum Begrüßungsbildschirm.
- Installieren/Aktualisieren auswählen
- Wählen Sie die interne SSD oder den internen Speicher als Installationsort für das Betriebssystem. Wählen Sie nicht die Laufwerke aus, die Sie für Ihre Daten verwenden werden.
- Prüfen Sie, ob das Laufwerk löschbar ist, da es vom Installationsprogramm formatiert wird.
- Legen Sie das Root-Passwort fest. Sie benötigen es später zum Anmelden.
- Bitte haben Sie ein paar Minuten Geduld, da die Installation Zeit benötigt.
- Nach der Installation müssen Sie das USB-Laufwerk entfernen und den K100 neu starten.
Schritt 5: Zugriff auf das Web-Dashboard
Nach dem Neustart startet K100 im TrueNAS SCALE-Modus. Auf dem Bildschirm wird eine Meldung angezeigt, etwa so:
„Um auf die Weboberfläche zuzugreifen, gehen Sie zu (IP-Adresse).“
- Öffnen Sie Ihren Browser auf einem anderen Computer, der mit demselben Netzwerk verbunden ist.
- Geben Sie die IP-Adresse ein, nachdem Sie sie auf dem K100-Bildschirm angezeigt haben.
- Sie werden zur TrueNAS-Anmeldeseite weitergeleitet.
- Eingeben:
-
- Benutzername: root
- Passwort: dasjenige, das Sie während der Installation festgelegt haben.
Sie befinden sich nun im TrueNAS-Dashboard.
Schritt 6: Richten Sie Ihren Speicher ein.
Jetzt ist es an der Zeit, Ihren Speicherpool zu konfigurieren.
Erstellen eines ZFS-Pools:
- Gehen Sie im Seitenmenü zu „Speicher“.
- Klicken Sie auf Pools und dann auf Hinzufügen.
- Wählen Sie „Neuen Pool erstellen“.
- Wählen Sie Ihre SSDs aus der Liste aus (dies sind die Hauptspeicherlaufwerke).
-
Wählen Sie einen RAID-Typ:
- RAIDZ1 ist die richtige Wahl, wenn Sie Wert auf Schutz und gute Speicherplatznutzung legen.
- RAIDZ2 für besseren Schutz (auf Kosten von etwas Speicherplatz).
- Geben Sie Ihrem Pool einen Namen und klicken Sie auf Erstellen.
Dadurch werden Ihre Laufwerke für die Datenspeicherung mit dem ZFS-Dateisystem vorbereitet.
Schritt 7: Dateifreigabe einrichten
Hier stelle ich Ihnen zwei gängige Methoden vor, mit denen Sie auf Ihre Dateien zugreifen können.
SMB-Freigabe für Windows-Benutzer:
Gehen Sie zu Freigaben > Windows-Freigaben (SMB).
Klicken Sie auf Hinzufügen.
Wählen Sie einen Datensatz (Ordner) zum Teilen aus.
Geben Sie ihr einen Namen wie „Dokumente“.
Freigabe aktivieren.
Sie können nun von jedem Windows-PC im selben Netzwerk darauf zugreifen.
NFS-Freigabe für Linux/macOS-Benutzer:
Gehen Sie zu Freigaben > Unix-Freigaben (NFS).
Füge den Datensatz hinzu
Erlauben Sie den IPs den Zugriff, den Sie wünschen.
Schritt 8: Apps installieren: Dies ist optional, aber der Einfachheit halber hier die Anleitung.
TrueNAS SCALE unterstützt viele integrierte und Drittanbieter-Apps.
So installieren Sie Apps:
Klicken Sie im Menü auf Apps.
Wählen Sie den TrueCharts-Katalog aus. Möglicherweise müssen Sie ihn aktivieren.
Stöbern Sie in Apps wie:
Plex für Medienstreaming
Nextcloud für privaten Cloud-Speicher
Syncthing zum Synchronisieren von Dateien zwischen Geräten
Klicken Sie auf „Installieren“ und folgen Sie den Anweisungen.
Als letzten Schritt öffnet sich die App.
Einige Vorschläge für kleinere Herausforderungen
Ändern Sie die IP-Adresse auf statisch. Es ist besser, Ihrem K100 in den Router-Einstellungen eine feste IP-Adresse zuzuweisen.
Aktivieren Sie Benachrichtigungen, indem Sie E-Mail-Benachrichtigungen unter Systemeinstellungen > Benachrichtigungsdienste konfigurieren.
Sobald die Einrichtung abgeschlossen ist, gehen Sie zu Systemeinstellungen > Allgemein und speichern Sie Ihre Konfigurationsdatei.
In welchen Szenarien kann man es verwenden?
Angenommen, Sie möchten einen Medienserver erstellen:
Installieren Sie Plex über den Bereich „Apps“.
Laden Sie Ihre Videos in den ZFS-Pool hoch.
Greifen Sie über WLAN von Ihrem Fernseher oder Ihren Mobilgeräten auf Ihre Medien zu.
Oder vielleicht betreiben Sie ein kleines Unternehmen:
Nutzen Sie SMB-Freigaben, um Dateien zwischen Teammitgliedern zu speichern und auszutauschen.
Schützen Sie Ihre Daten mit RAIDZ2.
Richten Sie Snapshots für eine schnelle Wiederherstellung ein.
Bei der Installation können Probleme auftreten. Hier sind die Lösungen.
|
Ausgabe |
Lösung |
|
K100 bootet nicht von USB |
Versuchen Sie einen anderen USB-Anschluss oder erstellen Sie den bootfähigen USB-Stick neu. |
|
Es wird keine IP-Adresse angezeigt |
Stellen Sie sicher, dass Sie das Ethernet-Kabel an ein funktionierendes Netzwerk anschließen. |
|
Speicherlaufwerke nicht gefunden |
Prüfen Sie, ob sie angeschlossen sind und nicht als Boot-Disk verwendet werden. |
Abschluss
Für einen optimalen Workflow empfiehlt sich die Installation von TrueNAS SCALE auf Ihrem Aiffro K100 All-Flash NAS. Die Software ermöglicht Ihnen die volle Kontrolle über Ihr Speichersystem mithilfe zuverlässiger Open-Source-Software. Nach der Installation profitieren Sie von der sicheren Speicherung Ihrer Dateien, dem reibungslosen Betrieb nützlicher Anwendungen und der einfachen Datenübertragung in Ihrem Netzwerk.
Keine Sorge, falls Sie kein Experte sind. Unsere leicht verständlichen Anleitungen helfen Ihnen, TrueNAS SCALE sicher und fehlerfrei auf dem All-Flash-NAS K100 zu installieren.


Hinterlasse einen Kommentar
Diese Website ist durch hCaptcha geschützt und es gelten die allgemeinen Geschäftsbedingungen und Datenschutzbestimmungen von hCaptcha.